
So you have always dreamed of owning a car of your own? Well, that’s a wonderful dream that you can spice up with a little drawing to keep you reminded so you can efficiently work towards fulfilling your dream.
A simple drawing of a car, as childish as it might seem, would go a long way in keeping you motivated not just in buying a car for yourself, it would keep you pumped up about taking a driving lesson to hasten the fulfillment of your dream.
So then, how do you draw a car, especially when you have no prior artistic training? These easy steps will help you draw a cartoon car with ease.
You will need to get a drawing paper, a pencil, and perhaps a marker to thicken the lines and an eraser for mistakes that are bound to happen and overlapping lines.
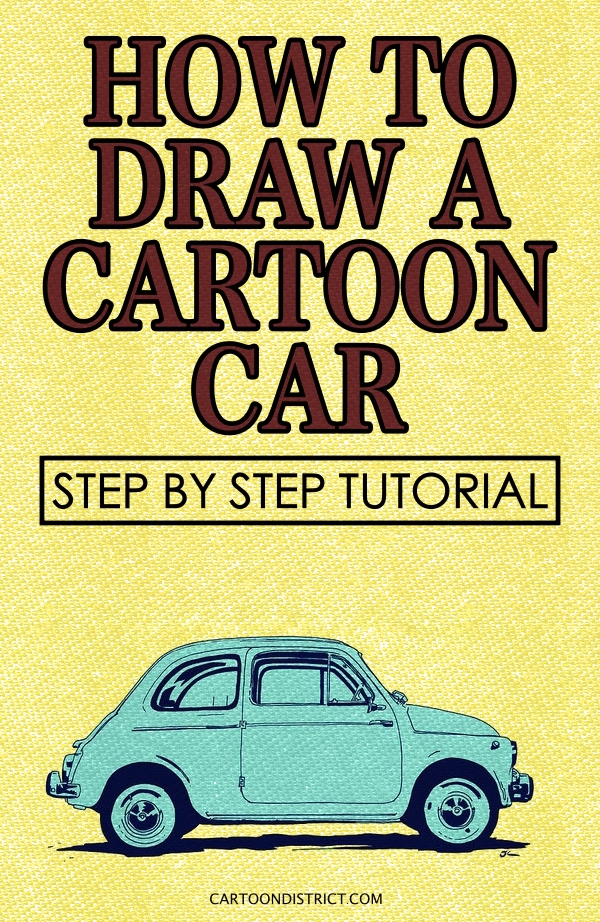
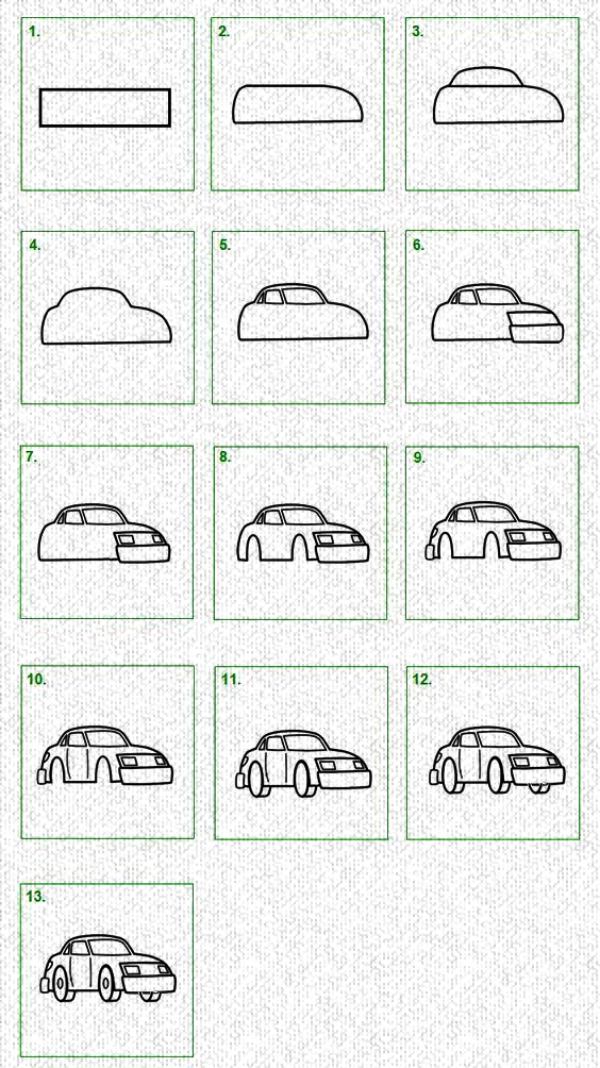
How To Draw A Cartoon Car: Step by Step Tutorial
Having gotten your drawing materials, here are the easy steps to follow in drawing a simple cartoon car:
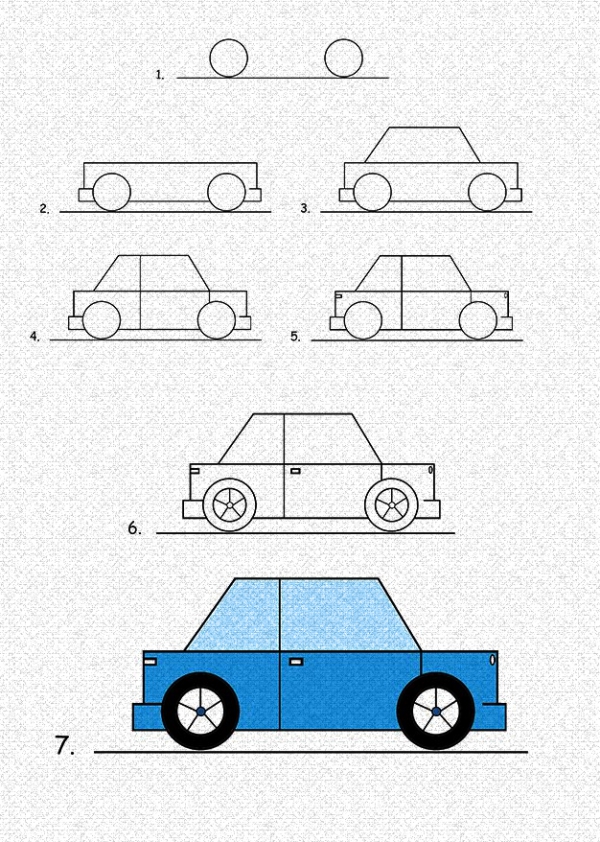
Step 1; Draw a rectangle
The first rule of drawing is to start from the basic shapes that make up the model you have in mind. In order to get started drawing a cartoon car, first draw a rectangle that will represent the side of the car.
Step 2; Divide the rectangle into two
Having drawn your rectangle, draw a faint line that will divide the rectangle into two equal parts. You might need to use a ruler to get your measurement right, but not to worry, once you’ve drawn a faint line dividing the rectangle into two, then you can move on to the next step.
Step 3; Draw a circle in each part of your divided rectangle
Once you have divided your rectangle, draw a circle in the middle of each part of your divided rectangle. The circles will serve as the tires once you begin to add in the details.
Note that your circles should be drawn over each part such that the lower line of the rectangle parts divides the circles into semicircles.
Step 4; Divide your front sub-rectangle into two
Having drawn the circles in each sub-rectangles, divide the front sub-rectangle into two equal parts using a faint line. That will serve as a guideline for your next step.
Step 5; Draw a trapezium
At the top part of your main rectangle, draw a small trapezium. It should not cover the entire length of the rectangle neither should it be too small. Instead, it should cover the length of both circles.
Step 6; Erase overlapping lines
Once you’ve drawn your rough sketch with the basic shapes, now is the time to use your eraser. Clear out all overlapping lines and shake off the debris of erase to continue your work neatly.
Note that your paper should be thick enough to handle the pencil’s sharpness and the peel of the eraser.
Step 7; Add details;
From your sketch, it might seem like you’ve been wasting your time all along, but don’t be discouraged. Just like you can’t get to the advanced part in your driving training without the basics, you have to have a basic sketch before adding the beautiful details to your drawing.
Now that you have your basic sketch, it’s time to add in the details:
Detail 1; Draw the door
With the dividing line, you used to divide your front sub-rectangle, and your main dividing line used for the main rectangle, you already have your car’s front door ready. All you have to do is draw a smaller version of your trapezium, but this time it is divided into two because of your main dividing line. Connect the lines properly, and you have your front door.
For your back door, draw a line from the back edge of your second circle, and connect it to your smaller trapezium’s line.
Detail 2; Draw the door handles
Having connected the lines, what makes a door complete? A handle!
A little bit away from the main dividing line, draw a small rectangle, and use your pencil to make a little bit of shading.
Don’t forget to add a little circle under the small rectangle to serve as the keyhole for each door. Shade it likewise.
Detail 3; Draw the headlamps
A little arc linking the horizontal and vertical lines of the rectangle would serve as the headlamps.
The point where the horizontal and vertical lines of your rectangle meet above the circle, draw a small arc to connect both lines. It should look like you’re drawing a little angle.
Detail 4; Draw the tires
Your circles are definitely not going to remain a band. To change your circles into tires, draw two more circles in each circle. Each must be smaller than the other.
Basically, you have a small circle in your main circle; then you have a smaller circle in your small circle.
Shade your small circle with your pencil, and draw four black circles arranged like a square in your smaller circle to look like bolts holding the tires in place. Note that your smaller circle will be left unshaded.
Detail 5; Exhaust
Having detailed out your tires, one more thing needs to be drawn – your smoke exhaust.
To draw this, draw a small horizontal cylinder extending from your back tire a little way below your car’s main bow.
Finally, draw a little cloud shape popping out of your car’s exhaust to serve as smoke, and shade it a bit to make it more realistic.
You have finally drawn your car, but you’re not there yet.
Do a little bit of shading of the blank white space at the base of the tires to serve as the ground on which your car is parked.
Having drawn with the pencil, get your marker ready to thicken the lines but not the shades. It will give you the cartoony and more permanent feel your cartoon car needs compared to the pencil you started with.
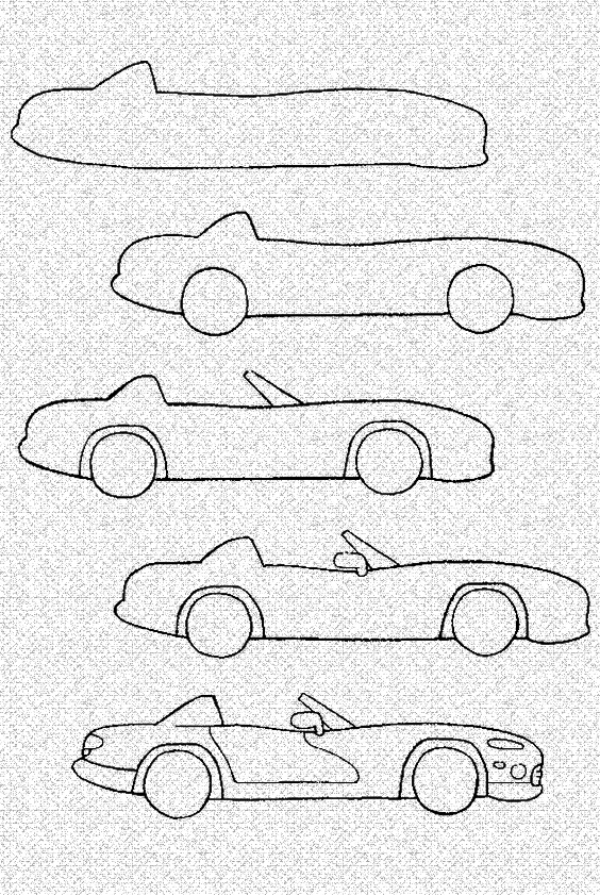
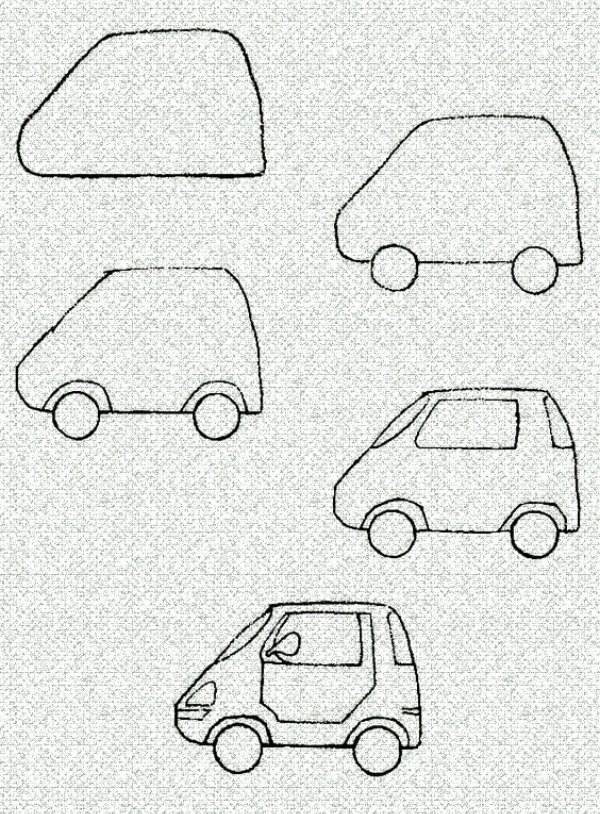
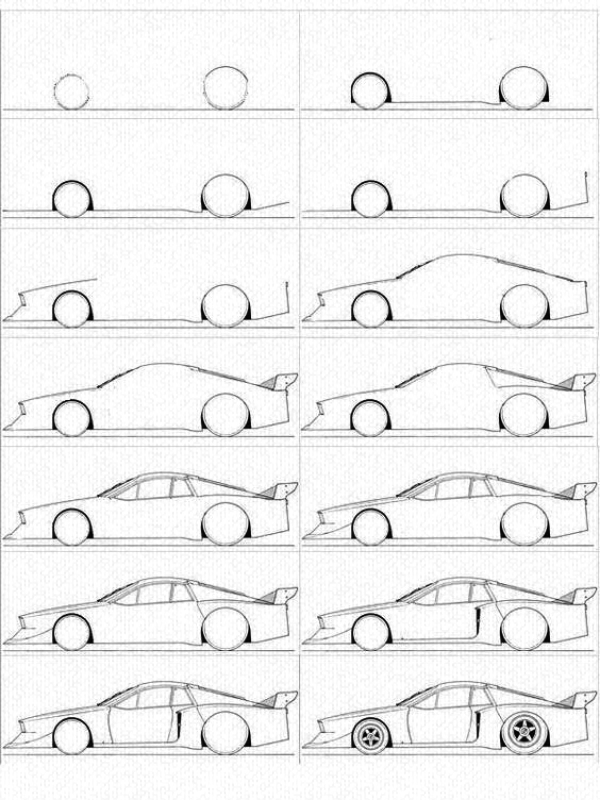
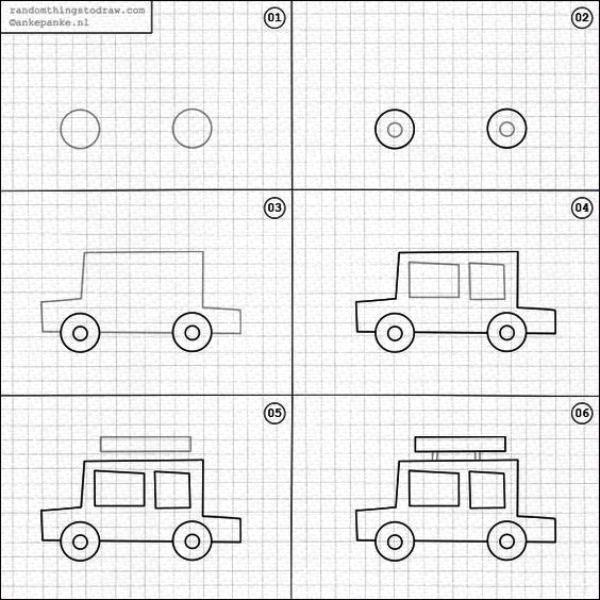
You can go through some more ideas to draw different types of car every easily within no time.
We hope, these set of ideas will surely be helpful for your kids to start drawing car very easily.