Smartphones are your best friends when you want to see a music video or a tutorial. The screen size seems to perfectly adjust to that tiny space you have in the subway or in the bus. However, when you get home or on a trip and want to see a movie, that same screen becomes too small. The solution is easy and efficient. You can create a DIY movie projector that works for your phone.
The DIY projector is functional as it follows the same physical principles as traditional movie projecting. The process takes around an hour and requires less than five dollars unless you already have the necessary tools. To avoid paying plenty of money for digital products, use the below instructions and craft a homemade projector and watch a movie on your smartphone. Just make sure you charge its batteries!
Make a DIY Movie Projector for Your Phone
Supplies
- A shoebox.
- Magnifying glass.
- Pencil
- Utility knife.
- Duct tape.
Additionally, you can purchase colored paper or spray to paint the projector. We do not recommend regular paint, as it takes a lot to dry and the layer might affect the shoebox. Since it’s carboarded, you also need to avoid humidity when creating the projector and storing it.
DIY Smartphone Movie Projector Instructions
Mark the Spot
Trace the diameter of your magnifying glass on to one side of the box. Choose one of the small sizes ends. Then, cut around the line with the utility knife to create a hole.
Create and cut a small hole at the opposite end of the power cord. Make sure no light passes between the glass and the box.
Add the Glass
Remove the magnifying glass handle and position the lens in the round hole. Use duct tape to stick it to the hole accordingly. Cover the entire edge of the lens.
Once again, make sure no light crosses between the magnifying glass and the box.
Prepare Your Phone
At this point, you need to make a stand for your phone. Paperclip stands are easy to make and practical. Bend it to have symmetrical sides. Secure it to the shoebox interior to avoid potential moving.
You can also make a stand from a piece of cardboard. You will need to fold it and secure it with a piece of tape.
Place the Smartphone Inside the Projector
Use the charger also, to make sure the cord wire is long enough. Don’t close the box yet. Just test with a music video to see if it’s visible.
Insert the Phone
Now the image is unfocused and upside down. You can focus it by moving the smartphone closer or further away from the magnifying lens until it’s clear.
Adjust the Image
There are three ways to turn the image around. You can adjust the image to landscape and place the phone upside down. Alternatively, you can purchase an image rotation app from the phone store. However, this may take a while. If you own an iPhone, go to Settings à General à Accessibility à Assistive Touch ON. Then, click on the orb that appears à Device à Rotate Screen.
Finishing Tips
- You can paint or tape the inside walls of the shoebox black if they are white. This helps you project a clear image.
- Choose a large and heavier paperclip, to make sure your phone doesn’t fall.
- Project the image on a white wall without any pictures, decorations or furniture. If you have any, remove them before turning down the lights. If not possible, use a bed sheet.
- You can glue the lens instead of duct taping it. However, tape saves light from escaping through remaining space.
- Design the exterior of the box between steps 1 and 2. If you spray the box, let it dry for a few minutes.
- If you want to look at photos, use the slideshow function. Also, if brightness is not satisfactory, fully maximize it.
Check the complete Video Tutorial for DIY Movie Projector for your Home.
The sky is the Limit
The science behind this DIY projector is that the convex shape of the lens magnifies the image. The image is upside down by default, as it uses the same mechanism as the human eye. So, the magnifying lens flips the image due to light reflection on your smartphone screen.
There’s no limit to getting creative with your DIY movie projector. You can create a wooden phone case and color and resize it as you prefer. This is not a single-use project, so you can keep the projector until you need it again. The electric cord hole will help you keep the phone charged while you watch your favorite movie. Using the above tools, you can create a projector even when you’re on a trip and you want to enjoy movie entertainment!
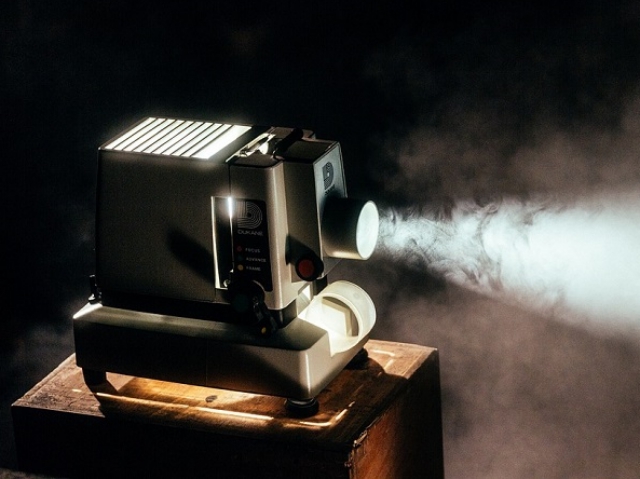
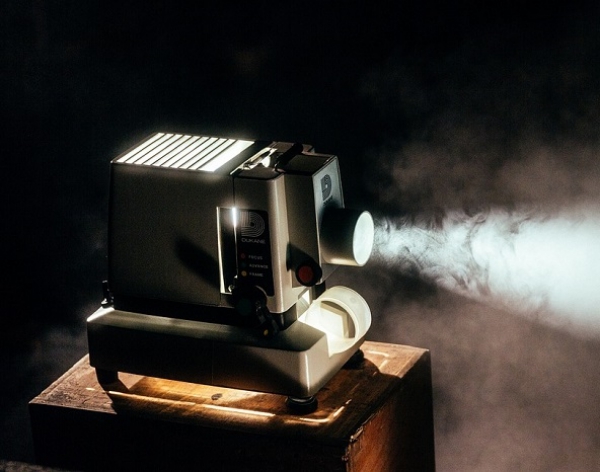
Image from Pixabay.